In today’s fast-paced digital world, crafting an efficient and creative web design workflow is not just a luxury, it’s a necessity. This comprehensive guide delves into the steps necessary to create a structured web design workflow, ensuring your projects not only captivate with creativity but also excel in efficiency.
The Importance of a Streamlined Workflow
A well-planned web design workflow is crucial for balancing creativity with efficiency. It’s the backbone of successful project management, leading to higher profit margins and enhanced client satisfaction. Here, we’ll explore why and how a structured workflow can revolutionize your design process.
Understanding Web Design Workflow
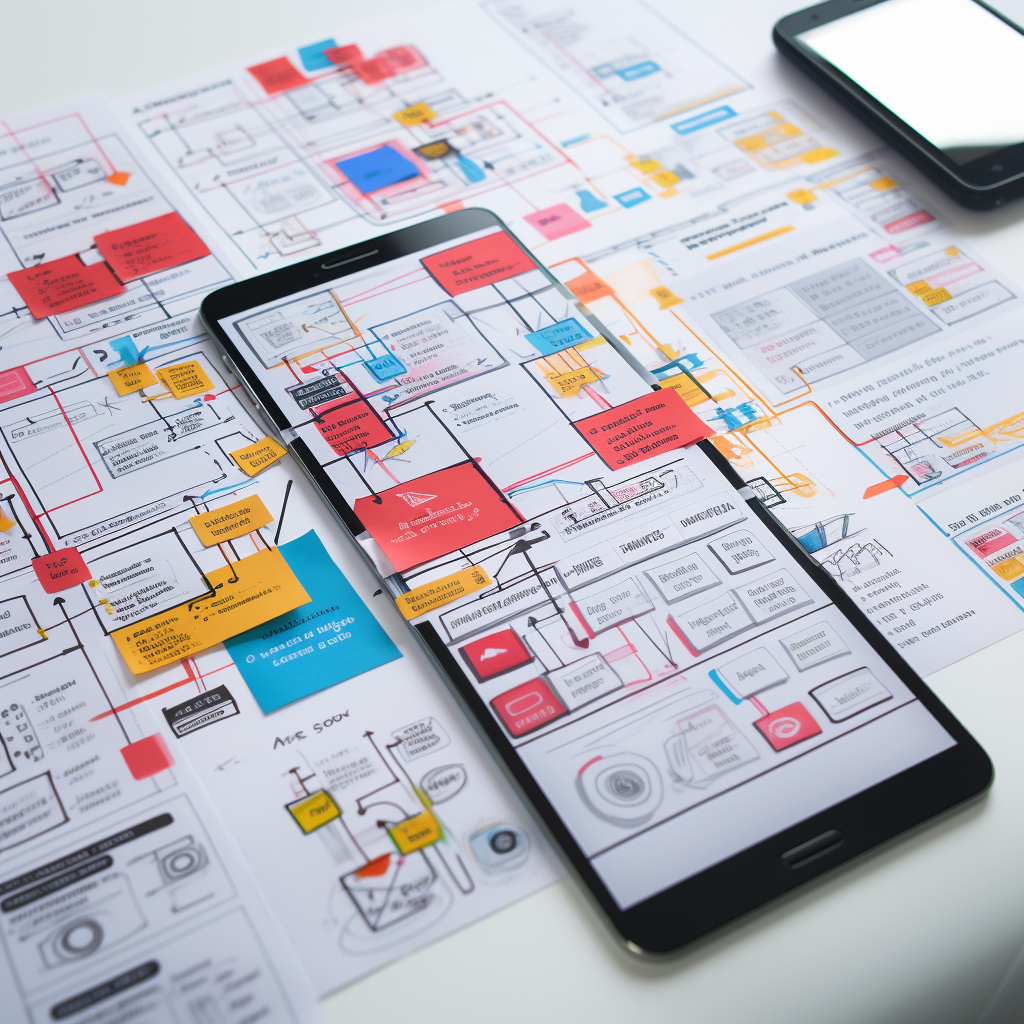
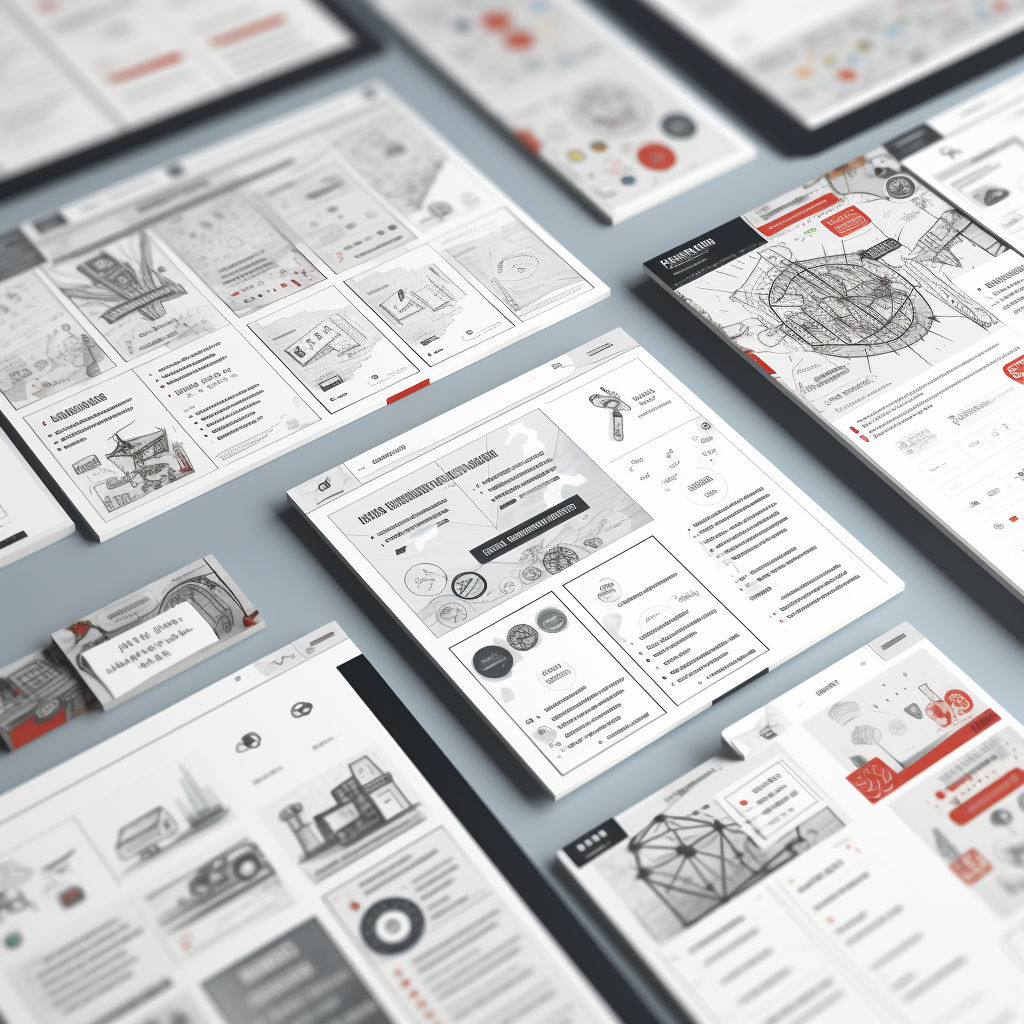
A web design workflow is a systematic approach to creating websites. It encompasses every phase from conception to launch, ensuring every aspect of the project is methodically planned and executed. This section would include detailed descriptions of each phase, supplemented with visual elements like flowcharts or diagrams for clarity.
Phase 1: Research – In-depth analysis of the client’s needs, industry trends, and competitive landscape. This phase sets the foundation for the entire project.
Phase 2: Planning – Utilizing the research to plan the site’s architecture, UX/UI design, and content strategy. This is where the project starts to take shape.
Phase 3: Execution – The hands-on phase where the website is built. It’s a symphony of coding, content creation, and design, followed by rigorous testing to ensure quality and functionality.
Phase 4: Launch – Deploying the website and ensuring it performs seamlessly post-launch. This phase also includes client training and handover of the finished product.
Customizing Your Workflow for Success
- Case Study: Insert an illustrative case study here to show the workflow in action.
- SEO Optimization: Embed keywords throughout the guide to enhance its online visibility.
- Practical Tips and Best Practices: For each phase, provide actionable tips or industry best practices.
- Incorporating Client Testimonials: Add real-world testimonials to lend credibility.
- Highlighting Latest Tools and Trends: Regularly update the guide with new tools and design trends to keep it relevant.
Why a Robust Workflow is Essential
A solid workflow is more than a roadmap; it’s a tool for ensuring consistent quality and efficiency. Here, elaborate on the benefits of a structured workflow, such as stress reduction, better time management, and improved client communication.
Preparing for Your Workflow
Before diving into a project, preparation is key. This section would include a checklist of essential steps, like defining project scope, assembling resources, and choosing the right tools for design and project management.
Implementing the Workflow: A Step-by-Step Process
A detailed web design workflow is the cornerstone of successful project management. This section will expand on each step, offering insights and tools for effective implementation.
- Client Kickoff and Onboarding: This initial phase is about establishing a strong foundation for the project. During the kickoff meeting, discuss the project’s goals, expectations, timeline, and deliverables. Use tools like Zoom for virtual meetings and Google Drive for document sharing. It’s also beneficial to prepare a questionnaire to gather as much information as possible about the client’s vision, target audience, and brand values. This sets the tone for a collaborative and transparent working relationship.
- Comprehensive Research: Here, delve into understanding the client’s industry, competitors, and target audience. Tools like SEMrush and Ahrefs are great for competitor analysis, while surveys and tools like Google Analytics can offer insights into the target audience’s behavior. This phase should also include researching current design trends relevant to the client’s industry, ensuring the final design is both modern and effective.
- Detailed Planning: In this critical phase, you’ll outline the website’s structure, content strategy, and design guidelines. Tools like MindMeister can be used for brainstorming and creating mind maps, while platforms like Moqups or Balsamiq are excellent for creating wireframes and site maps. It’s essential to align the website’s structure with the user’s journey, ensuring a seamless user experience (UX). Also, collaborate closely with content strategists to ensure that the content aligns with the overall design concept.
- Design and Development: This is where the plan comes to life. Start with creating high-fidelity mockups using tools like Adobe XD or Sketch. Once the design is approved, move to development. Whether you’re coding from scratch or using a content management system like WordPress, keep the client updated with regular progress reports. Use platforms like InVision or Marvel for presenting interactive prototypes to the client, making sure the design is responsive and adheres to best UX practices.
- Client Review and Feedback: After presenting the initial design, it’s crucial to involve the client in the review process. Tools like BugHerd can be used for clients to easily provide feedback directly on the design. Be open to their suggestions but also guide them with your professional expertise to reach the best outcomes. This phase may involve several rounds of revisions, so it’s important to manage expectations and keep communication clear and frequent.
- Quality Assurance and Testing: Before the site goes live, conduct thorough testing to ensure it’s free of bugs and performs well across different devices and browsers. Use BrowserStack for cross-browser testing and Google’s Mobile-Friendly Test for checking mobile responsiveness. Additionally, check for broken links, load times, and SEO optimization. It’s also a good practice to have a checklist for quality assurance to ensure no detail is missed.
- Launch and Post-Launch Strategy: The launch phase involves moving the site to a live server, a process that should be handled carefully to avoid any downtime. Tools like WP Engine or SiteGround can be used for reliable hosting solutions. After the launch, monitor the site’s performance, gather user feedback, and make necessary adjustments. Discuss with the client about ongoing maintenance and updates, and consider setting up a retainer agreement for continued support.
Each of these steps requires careful attention and collaboration with the client. By following this structured approach, you ensure a smooth process from the initial meeting to the final launch, resulting in a successful and satisfying project completion.
Maximising Productivity and Satisfaction
A well-structured web design workflow is the key to transforming client visions into digital realities. It’s not just about delivering aesthetically pleasing websites; it’s about creating a seamless, stress-free experience for both the designer and the client.